I forgot to take a picture, but there were three shelves mis-matched sizes, materials, with a tendency to sag, and the higher ones were hard to reach/use. Those came out, along with the few bits of wall plugs I could extract.
That left an cupboard containing only holes and dirty marks (and air). Fill up the holes with polyfilla and give it a coat of paint, and that's a good starting point for the job proper:
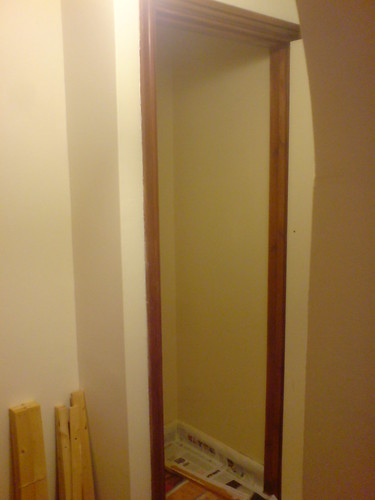
With a nice clean slate to work from, I started refining the design with scale plans for specific parts...
The framework:

The vertical posts inset from the sides also provide support, but more importantly they are the side boundaries for the drawers. Note the bigger space on the right, so drawers aren't blocked in by the door.
The base of the framework:
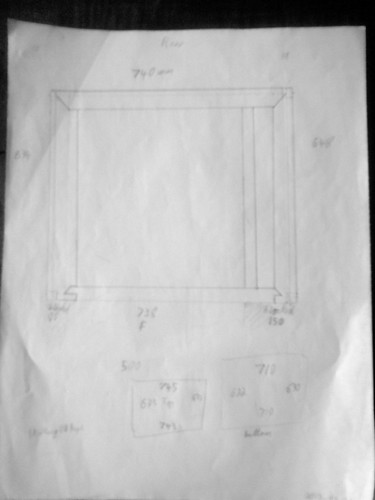
The base and outer pieces of the framework form the edges of a cuboid.
The observant will have noticed that the number of drawers has increased to four - after measuring up three seemed too low for the top of the drawers. It may turn out that four is too high, but hey - more storage!
No comments:
Post a Comment