One hundred pounds worth of LEDs don't come in a big box...
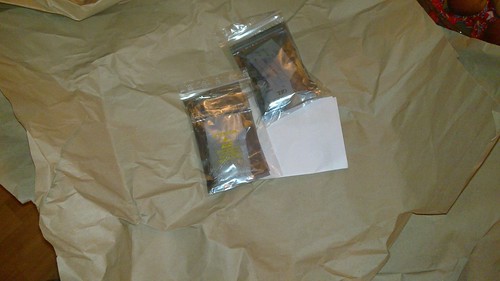
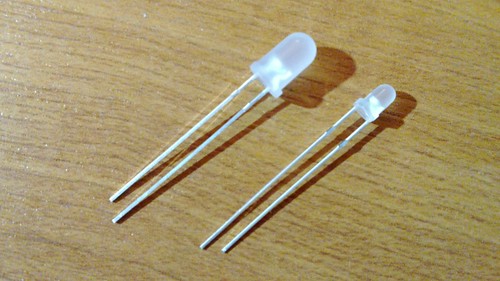
(I should've included something for scale in those pics. Nevermind.)
 Once I had the frame put together, it occurred to me that three or four LEDs could be put serially in little columns on perfboard, each with their own resistor and connection to the power supply - something like the plan on the right.
Lets remove some unknowns: I want it bright, and nine columns of four LEDs should be pretty good, I reckon.
I've already got wires, resistors, and a breadboard so now I can do some testing.
For prototyping, I attached a couple of crocodile clips to a mains adaptor at it's lowest setting and ran that through a breadboard with one 5mm LED and the recommended resistor, to check that the basics were working, then bumped up the voltage to 12, as I plan to use in the final piece. That worked fine, so I put four LEDs in series and, using an online LED resistor calculator, found a (lower) value of resistor, accommodating the greater voltage drop caused by the additional LEDs (assuming a 2V drop per LED).
If I'm to learn anything here, I ought to figure the resistor stuff out myself, rather than using the online calculator. For the moment though, I think I get the gist:
- Power source provides a electrical potential difference,
- generation of light by each LED is an electrical load, which uses some of that potential, hence
- voltage drop gives a lower effective voltage over the circuit, hence
- a lower value resistor is necessary.
I was quite happy with the 5mm LEDs in a row of four, so did the same with the 3mm LEDs. Here's the breadboard:
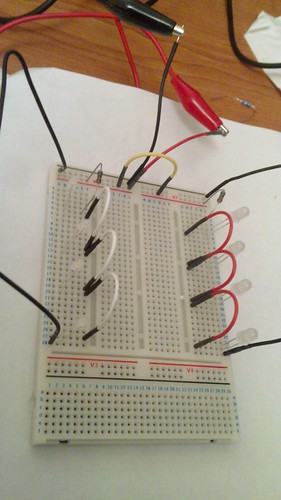
...here it is lit up:
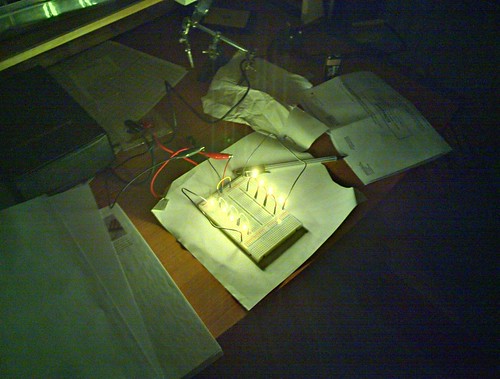
...with 80gsm paper as a diffuser:

...and with 160gsm card as a diffuser:
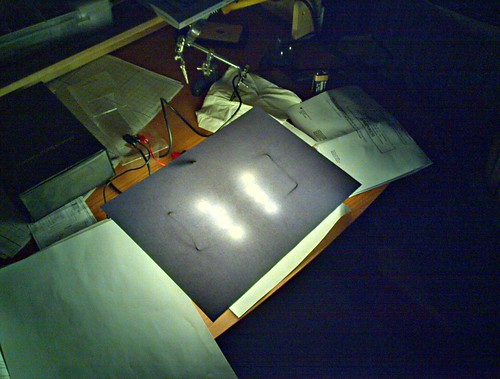
Of course, those pictures don't really convey the quality of the light - although they're HDR (taken with Bless N900) so they're not utterly terrible.
I'll need to play around a bit to see if I can/should use lower value resistors and get the LEDs brighter - they could take a higher current, but I need to verify that the voltages and currents used aren't going to be a fire risk, and look into whether higher current might give a significantly shorter LED lifespan - although this is probably a good point to find a canvas (or some similar looking material) to go on the front...
No comments:
Post a Comment