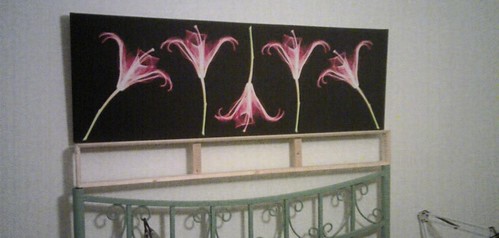
This is relatively simple - I know the dimensions of the canvas print (135x45cm), so I know I want my canvas to be 135x15cm.
I little research suggests that getting a pre-built frame this size will be difficult or expensive. To be honest, most of the research was watching YouTube videos on stretching canvases. Woodworking is kinda fun, so I elected to make this myself.
After a while trying to think of a way to add a bevel to regular planks (to make sure the canvas doesn't have lumps due to the frame, I realised I could simply use a simple beveled architrave.
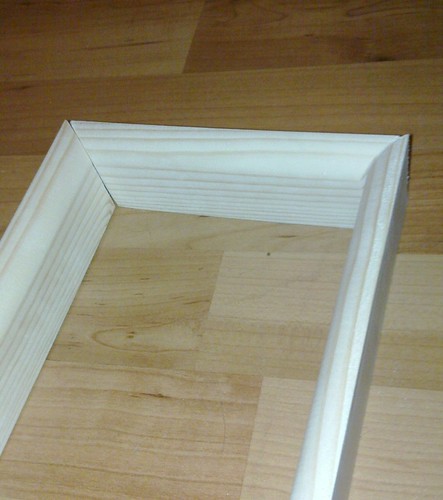
The frame is simply two horizontal and two vertical pieces, glued and nailed together with mitre joints, plus vertical braces inside for strength.
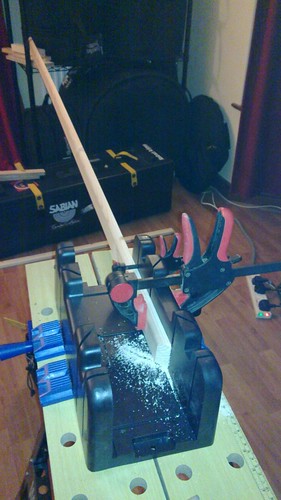
Cutting a mitre joint with a plastic mitre box wasn't very accurate - I ended up sanding down the cuts, and hoping that glue would make up for where the surfaces didn't quite meet up.
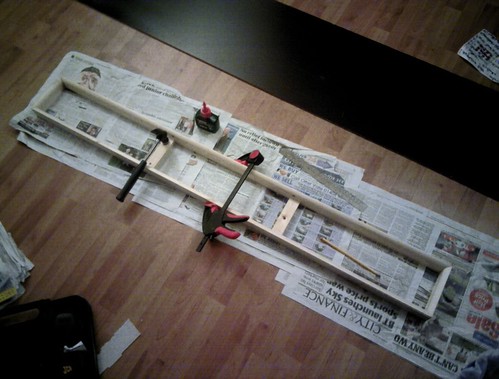
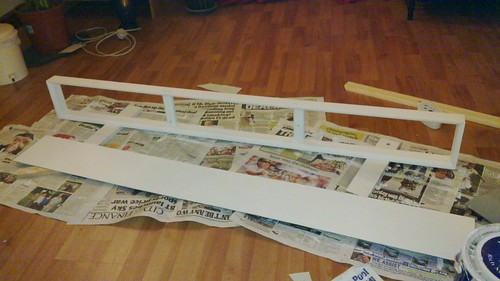
Positioning the braces was one of those things where it was totally unclear how many were needed and how to space them, until the four frame pieces were laid out on the floor, at which point it was obvious that two braces at thirds of the width would be ideal. The braces are at the back of the frame, so the shouldn't stop light bouncing around the inside of the frame too much - I want the whole canvas to glow, rather than having several compartments. Here's all the pieces laid out (but not glued or nailed):
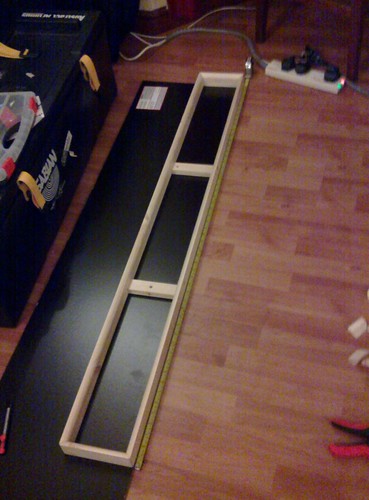
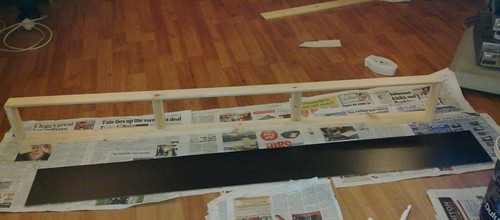
Also in that pic is a large piece of fibreboard from the Ikea clearance corner - thanks to H and Bic for letting me bring it back with us :-) This will be cut down to size, have the LEDs mounted on, and will be screwed onto the back of the frame.
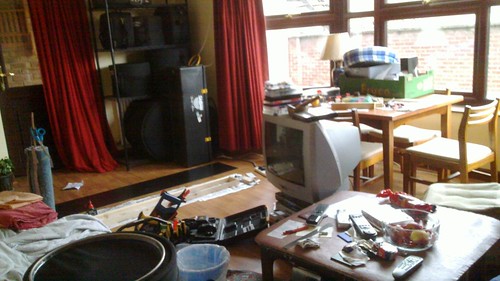
In keeping with family tradition, my place is full of tools and materials in progress during all this:
Ideally I would've used some corner clamps to ensure that the frame was square when I glued the pieces together - but I don't have any, and the local DIY shop didn't have any. Instead, I lined up the pieces to a roofing square that I bought for the cupboard project, PVA glued them all, then nailed them all (with pre-drilled holes). The braces needed a bit of encouragement to keep them in the right place whilst waiting for the glue to cure.
Cut the fibreboard to size, and that's pretty much all the woodworking finished!
This is all about white light, so the frame gets painted with a matt white, to reflect as much light as possible, without specular highlights.
I'll need to make some modifications to fit electronics, but the frame is done for now.
No comments:
Post a Comment